Wednesday 23 April 2014
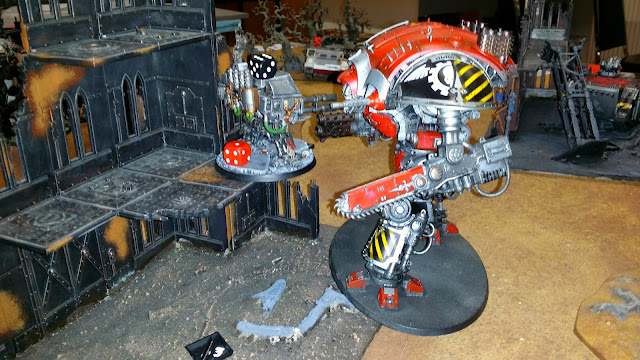
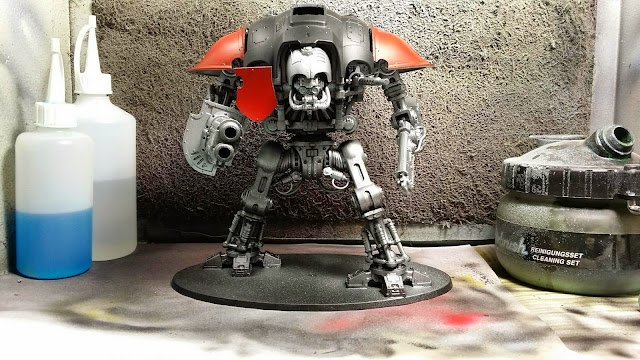
Knight WIP Update: Red goes faster
I still need to learn how to apply decals and add some bits to the roof, but he looks much more painted compared to the last silver only state. =D
Sunday 20 April 2014
Grime 'em up!
The result isn't great, but isn't horrible either. My guess is that I should have left the gloss coat dry more than the 4 hours I gave it. Noted for the next time.
Magnetising monster bases
I've tested this now on some flight-bases and I am happy with the the result, so here is what I did. Using the hobby saw, I scored a grove into 2mm thick plasticard stock and marked off sections with a marker.
Using a milk can perforator from the super-market as a center punch and a hobby vise as support, I drilled pilot holes and then 6mm holes for the 6x2mm disc magnets I wanted to use for this model. With rough stuff like this, I have no qualms about using the little power tool, the holes end up bless wobbly than with a hand drill and the little toy's RPM is low enough to avoid thermal problems.
Next, I used clippers to weaken the line between the sections and then broke them apart. I also clipped off a corner of each section.
Using plastic cement, I stuck a section into each corner and clamped them with the paper-clips. A quarter hour later, I superglued the magnets in place.
This should hold nicely. ;-]
Saturday 19 April 2014
Two drakes done!
Shown here following my second fire-drake, banking left as they all do. I gotta collect my first heldrake for a shot of the four of them, but the three will have to do for now.
Sunday 13 April 2014
Heldrake reinforcements
Then I had a request for a Tzeench drake - ergo blue with gold trim. The deal I offered was two kits for one painted drake. So I painted a few shades of gold over the silver trim of my blue and sliver drake. Here is a picture that I took before handing that model off to its new owner.
For quite a while, the two new drakes sat in their boxes unopened, but I've recently been clipping, demolding and partially assembling them. Now that my airbrush is back in play, I hit them with primer and will fire them up now. Here a WIP picture.
Since the flame effect takes multiple steps, it is a time saver to do all parts for each step and helps with consistency. That being said, it's time for the red coat to go on and orange and yellow are already itching in their Vallejo dropper bottles. Black for the lines isn't as enthusiastic, but I'm sure with the right TV show running that too will pass! =]
PS: Several hours later, the flame effect is done, the black metal is painted. Chest and eye glow to go, as well as the black lines. I didn't paint the whole time, maybe 5-6 hours ;-]
Edit: Progressing through the edge-lining.
Monday 7 April 2014
Imperial Knight WIP 2
I had not touched the knight for a while. As my Defiler conversion showed, I kinda like big robots, but chaos being denied knight allies against the fluff is a bitter pill to swallow.
Regardless, I took my new tool, a Noga demolding scraper and went for the kit.
Like with othe kits, I wanted to keep some things flexible and use magnets. My weapon choice is the melta, I didnt bother with making the magazines exchangable. I did however put magnets in the shoulders, elbows, head, neckplate, stubber, shield, weapon barrels and of course the hips.
I extensively used plasticard to beef up the thickness of parts for mounting magnets. You can see all the white bits in the picture below. I will eventually glue the two remaining arm/weapon joints and their pistons. The armour plates will be glued on strategically after painting.
Sunday 6 April 2014
Iyanden update
Since I learn faster than I can finish an army, I decided to just finish the models to a common standard and give them a common look to tie them together. I got all models based and painted up the rangers and reavers. Also, I finally removed the hairbands holding the upper shell on the serpents. I didn't quite want to glue it, but poster tac came to the rescue. Holds really solid when squezzed between the parts. ;-]


