Friday 30 August 2013

Wraithknight painting

I offered to paint a long unpainted Wraithknight. This would be my first time painting yellow in general, the Iyanden colour scheme in particular and a first at gems as well.

The model hat been put together with a weird, forward leaning stance and a horizontally held glaive, which I set out to correct. I broke the hip joints, a knee and the ankles to reposition the model's right leg forward, using 2mm thick nails as pins in lieu of the now destroyed plastic locking pins.

The wrist with the sword I sawed off and then re-attached with magnets, making it freely positionable. I was quite happy with the result, until someone pointed out a mistake I made when it was way too late to correct it without basically starting over. Bonus points if you spot it. ;-]


The base looked a bit bleak and empty. I didn't want to do something too complicated, but adding some decoration seemed the way to go. Since Worldship Iyanden was almost wiped out by Swarm Kraken, I figured some Tyranid and Eldar casualties on the base would fit.

I got some Nid-fodder, which turned out to work great, since two legs are plugged into the body and could therefore fold nicely. I just slashed down a messed up guardsman to keep them company. Since I didn't want to fiddle with the casualty positions between the wraithknights feet, I glued the casualties up on thin plastic sheet, which I cut out rounded to no straight lines would stick out. I added some gravel to the base to round it out.


Since the original black primer coat had been damaged with the changes and some scraping and sanding, I had to reprime the model. I used black Vallejo Airbrush Primer. Since that would make applying yellow a nightmare, I then followed that up with a coat of Vallejo Model Air Light Grey. It turns out that the grey Vallejo primer is a bit lighter and not really rougher than the black primer. So I'd use that - or even the white primer for more Iyanden models.


For the yellow, I tested VMA Medium Yellow, VMA Gold Yellow and Citadel Yriel Yellow on a base coated with black primer and stripes of white, light grey and dark grey. While VMA Medium Yellow on White gives a good result, the Yriel Yellow (thinned of course) did look very convincing indeed, so I went with that.


Here is the miniature (HA!) with the yellow basecoat. In retrospect, applying the yellow base colour first was a bad idea. I should have applied the other colours first and then masked those areas. That way the yellow can go over the whole thing and there is no risk of spilling constrasting colours on the yellow when brushing in recesses. Since the model was completely glued up and has many protuding bits, there was quite some awkward brushwork, bad accessability and bad visibility in play here. Lesson learned. Boy am I happy that my wraithknight has a ton of magnet joints improving accessability to no end in comparison!


 Here is the model with the dark grey and blue applied. Glaive and gems left to do.


 Here is the glaive with conventional (non purple) power shading and the gems done. The gems I painted with McCragge, Aliatoc and Hoeth blue, following the Eldar release White Dwarf tutorial for having a dark spot on the top and a diagonal colour gradient to the gem colour. I added Tamiya Clear Blue as Glaze and added two small highlight points using Ceramite White and a toothpick.


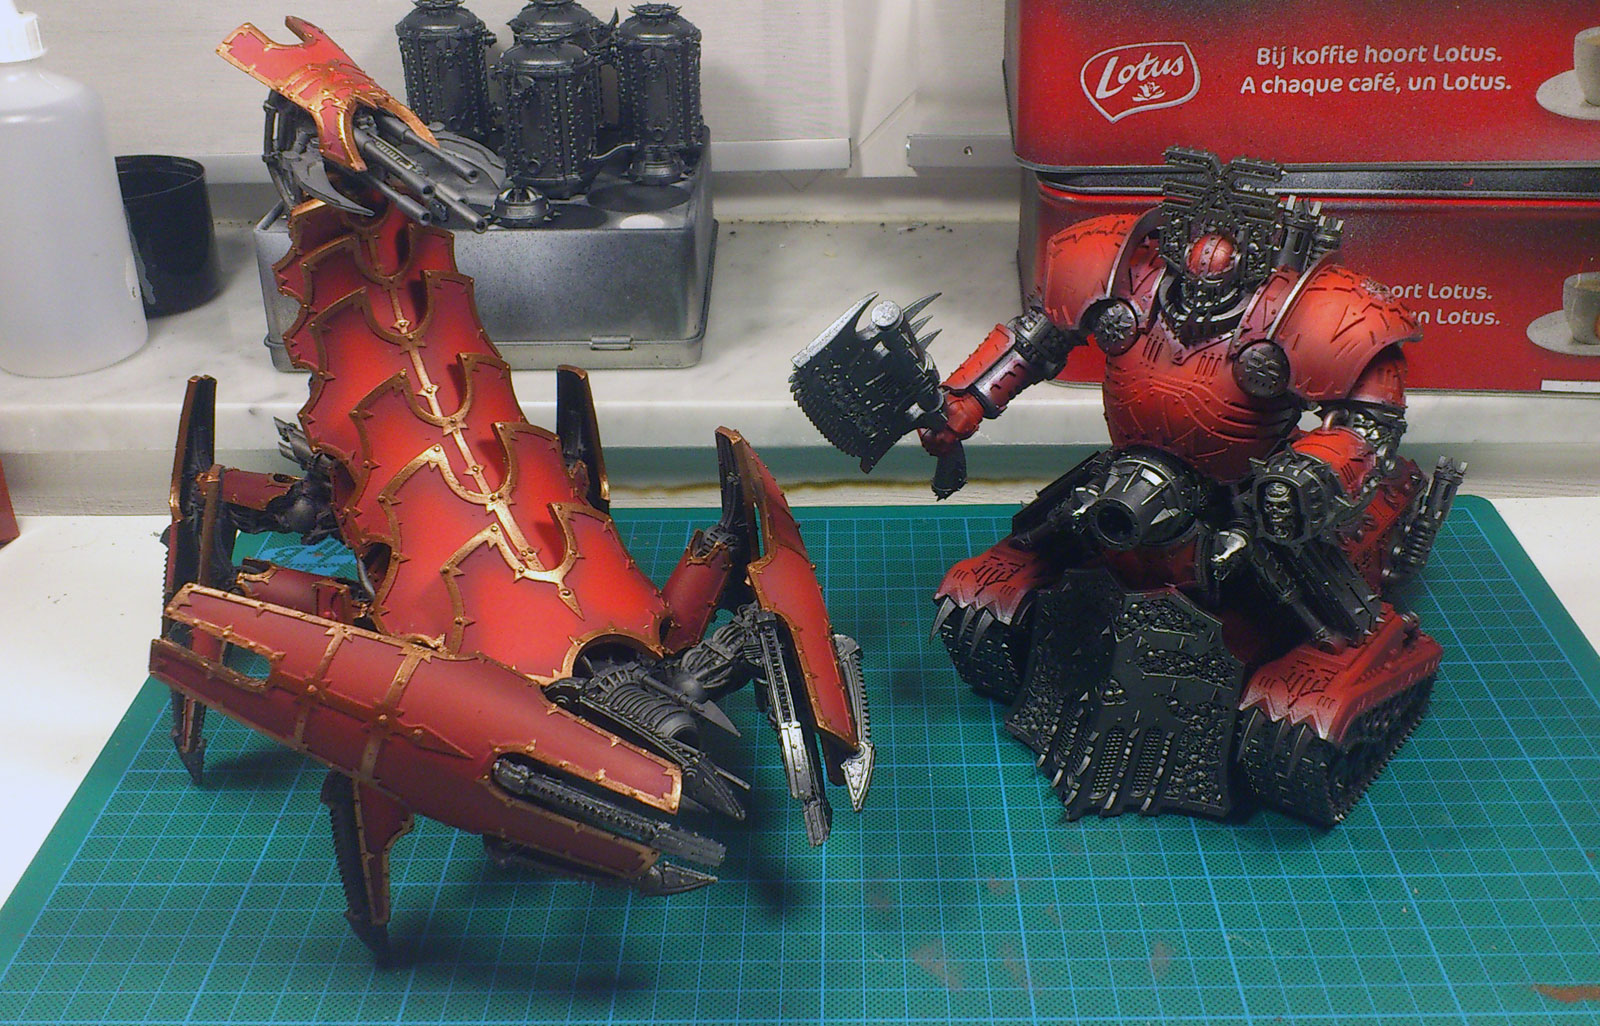
Seeing the amount of natural shadows on the model, I was quite reluctant to attempt manual brush highlights on the model or trace the lines between the armour plates. Since this model wasn't mine, I didn't want to mess it up. I'll now use the experience I gained to deal with my own wraithknight. When that one is done, I'll most likely come back to this one to share the love.

My plan of action for my wraith knight is the following:
- Vallejo Airbrush Primer in Grey.
- Airbrush face shield very light grey to white, mask with liquid mask.
- Airbrush joints dark grey, mask them with tape.
- Airbrush gems, mask them with liquid mask.
- Airbrush blue armour parts, add colour gradient, mask with tape.
- Re-prime around the masks to cover overspray.
- Airbrush Yriel Yellow, add Flash Glitz yellow highlight by spraying from above.
- Very very carefully remove all the masking stuff.
- Touchup.

Sunday 18 August 2013

Heldrake on Fire!

Today I finished my second heldrake, using all Vallejo Model Air paint and a lot of patience! BuyPainted's Heldrake Video inspired me to go for this paintjob.

I started by preparing the model removing all mold lines and covering it with Vallejo Air Primer in black and by preparing stencils. I cut the stencils from rigid plastic, one with a bunch of drop shapes and another one with wavy lines.


Since this was my first time with stencils, I had to do some testing. I ended up using the two stencils on the right to lay out the flames. I put the two paint containers in the picture for scale. The process is quite simple and uses the fact that airbrush paint has significantly different visible coverage between dark and light base colour. By laying out the bits you want in a colour in greys and whites on a dark background, you get the option to then just cover the entire surface in the colour you want and it looks like a perfect hit.

Starting out with some basic shapes in Vallejo Model Air (VMA) German Grey (1) and highlighting it with VMA Light Grey (2), I then applied VMA Scarlet Red (3). I used light grey again (4, pic missing) to lay out the shape for orange (5). Then I used white (6) to lay out the shape for yellow (7).


I did this for all the eight wing parts on both sides. For the rumps sides I did something similar, but all other armor plates like the neck, back and small bits just got hit with a mixed up camo-like pattern. Some VMA Black Metal and VMA Tank Brown covers the claws, chest and organic bits. That left the model looking like this.


I wasn't sure if I would go with a bright metal trim colour like BuyPainted model or go for something dark, either flat black or black metal. Since I didn't want to make it a ball of sparkles, I picked going with dark trim. I used VMA black to paint all the edges and lines in matt black. There sure are a metric ton of lines on this.


With the basic armour plates complete, I added VMA Black Metal to the spikes on the wings, the neck and back and the exposed mechanical parts in the rump. To mute this a bit and cover the fact that I had utterly forgotten to get some nice highlights going on the tank brown, I liberally washed the brown bits with Citadel Nuln Oil shade.

Then I put it together. The arms with the wings and the neck, head and maw weapon are magnetized, just like on my first heldrake. Then the model looked like this:


The view from below is nice as well (IMHO). The chest goes nicely from black metal to tank brown via the glow that I put in the chest using the same method as the flames on the wings.


Here are my two drakes practicing formation BBQing of MEQ units. ;-]


Saturday 10 August 2013

Greater Brass Scorpion


I splashed some colour on my scorpion and the skull lord. Both were hit with Vallejo Model Air Steel and Black Metal as well as Citatel Khorne Red and Wild Rider Red all thinned a bit and a lot respectively with Vallejo Airbrush Thinner.

Then I spent considerable time on the edges of the armour plates of the scorpion with Citadel Balthasar Gold. There are the two claw armor plates, six big and six small leg armor plates, ten or so half segments of armor on the main body as well as the armour plates that go on top the main body and the scorpion cannon. That is a lot of edges!

I still need to sort out the bands on the bottom of the torso and the corpses stuck in the wire mess of the body - and of course the skull lord needs some love as well.

Wednesday 7 August 2013

Plague marines getting some colour!

There is progress on the plague marines! You can see the current status in the picture below. Note that the marines next to Typhus have Nurgle marked shoulder pads courtesy of my Dremel.


I'm saw a very impressive Death Guard tutorial by Awesome Paintjob Lester Bursley.  He starts that tutrial with a miniature in grey. I guess that is grey primer, but it's not mentioned.

Grey and white primer have given me less smooth results than black primer before. I already had old models and didn't want a bumpy primer layer. So I used Vallejo Airbrush Primer in Black. I let that dry troughout and then applied a thin layer of Vallejo Model Air (=VMA) Light Grey. The result was a light grey, smooth surface.

For the relatively light green base colour, it is really important to have a surface that isn't pitch black. A grey surface does not have to be completely covered up with paint - it is neutral by itself. That means less coats, a thinner coat and also less paint used. Win time, win detail, win materials. Awesome!

Following Lester's guide, I then covered the models with a base coat of VMA Olive Drab, a dark green. Then it's over to the Vallejo Game Colours Plague Brown and Dead Flesh. Those are a medium brown and a light fleshtone.

Vallejo Game Colour is thick and meant to be applied with a regular brush, but using Vallejo Airbrush Thinner and a secondary container with a plastic mixing stick, it's easily brought to airbrush consistency. This isn't ideal, since the VGC range is meant to dry faster than the Model Air range, but it works fine if properly thinned.

You an see Lester's guide here:


I'm not sure if I'll go all the way. First, I'm not a master painter, I'm not expecting to get a result of the quality shown in the tutorial, second, I'm not sure if I want to do all of the 75 models quite that elaborately. Granted, only a handful has exposed faces, I'll see how I get on.

Being challenged where seeing red/green colours are concerned, I'm quite grateful for the colour references. That way I don't need to ask someone else to check coloours I picked for mismatches. =]

Friday 2 August 2013

Plague Marine reinforcements assembled

I've cleaned the metal plague marines which I got recently from eBay, slapped them on magnetized bases and now also put the 4-6 bits that each of the very old models get into place.

The result are eight squads with seven plague marines each. Each squad containing a champ with or without special weapons, four marines with standard gear (bolter, bolt pistol, knife) and a marine with plasma and flamer for the special weapons allowance. The two very green squads in the front are the Finecast squads which I already had.

I get that I will hardly ever use ten seven man squads, but this way I have plenty of models to mix together. Want a champ with different gear, different special weapons, no problem. There are five marines left over and a spare metal Typhus, a couple of Plaguebearers and a great unclean one which will go through the priming and a couple of the steps afterwards together with the metal marines.


All of the very old plague marines came with blank shoulder pads. I considered getting some of the nice 10 piece metal shoulder pad sets from GW, but the look I liked was showing 4-6 weeks delivery time. I've considered using some green stuff with or without a silocone mold to get some dots going. Then I tried something that looks actually pretty close to the original pads the newer models come with - engraving!


I've used the Dremel bit in the picture below. It has a 2mm wide ball shaped cutting head. Putting three shallow marks in a triangle takes just a few seconds. The shoulder pads are thick enough that there isn't a real risk of going through them by accident. A bit of cleaning is needed to tear free any bits of plastic stuck to the edge, but I'm quite happy with the result.